I’ve had a raspberry Pi for a while now and one of the projects I’ve wanted to do but never actually got around to was to use it as a weather station as in this example from Microsoft.
Unfortunately getting this working wasn’t as easy as expected, though this was probably mostly down to my lack of experience with these kind of hardware projects and the Windows IoT platform so below is my “idiots guide” for getting this up and running.
Hardware Setup
Assuming you’ve got all materials linked to in the article the first problem is that the 40 pin header recommended doesn’t actually fit into the weather shield which is expecting 2 10 pin headers, a 6 pin header and an 8 pin header. The solution for this was to cut the 40 pin header up into the desired sizes using a pair of wire cutters, this works fine, though does sacrifice one pin for each cut made.
The next step is to wire up the Raspberry Pi and the weather shield as in the images in the article.
Software Setup
Initially we just want to get Windows IoT running on the Raspberry Pi, even if it’s not yet running our weather station app.
First off, download Windows IoT Dashboard from the link at the top of page and install.
Once the Windows IoT Dashboard has been installed you need to use it to setup your microSD card, as my desktop machine that I use for development doesn’t have an SD card reader I had to purchase a USB SD reader to allow me to access it.
A good app for formatting SD cards if you’ve previously used them for something else is SD Memory Card Formatter.
Use the “Set up a new device” tab in the Windows IoT Dashboard to format your SD Card. If you want to be able to connect to a wifi network from your Raspberry Pi you can either select one that your machine has previously connected to here or connect later via ethernet and add in connection details then.
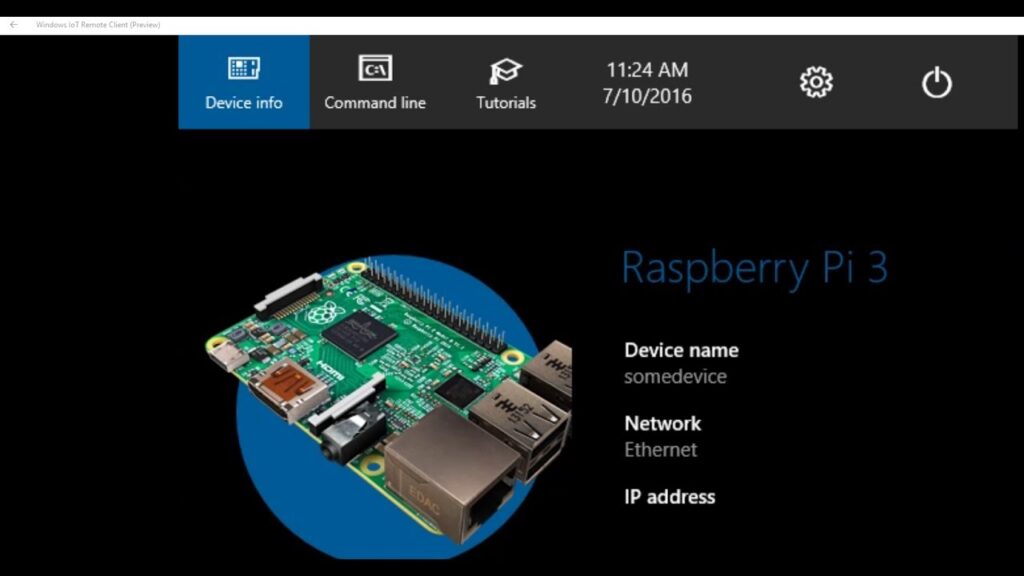
Once the setup process has completed insert the SD card into your Raspberry Pi and power it on, once the boot process has completed you should see something like the below on an attached display.
Visual Studio Setup
The article linked above is based on running this GitHub project on your Raspberry Pi however it needs a bit of modification before you can get it working.
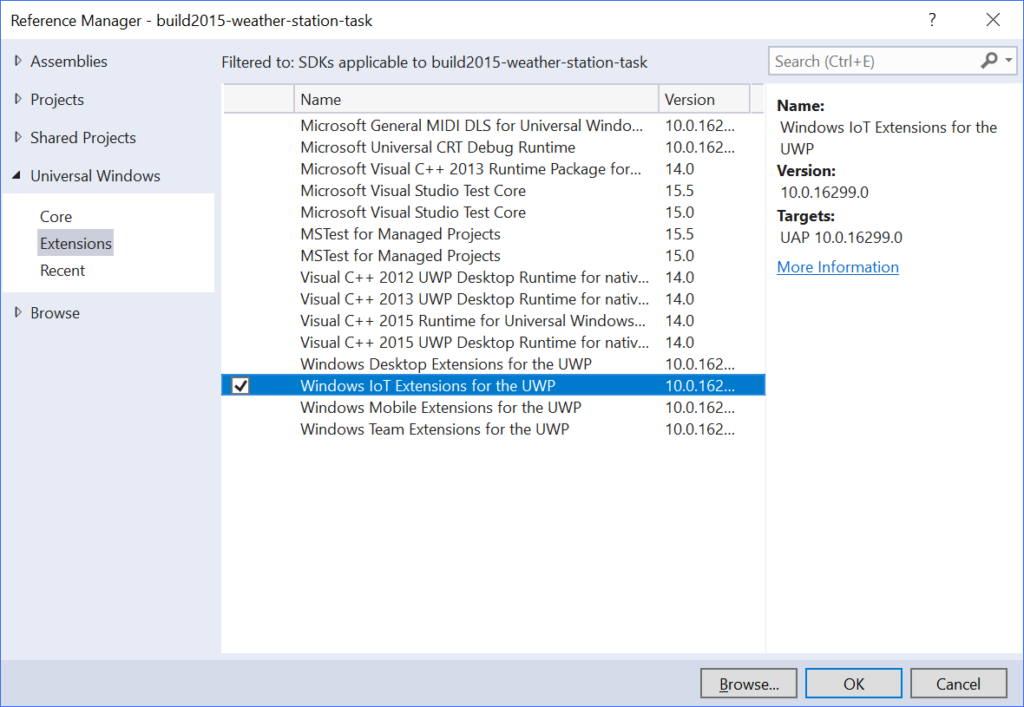
To begin with clone the project into Visual Studio and then open the “build2015-weather-station” solution, once this has finished downloading resources you’ll likely get some errors about missing “Windows IoT Extensions for the UWP”. This occurs because the project is referencing a particular version of “Windows IoT Extensions for the UWP” and if you have a different version installed it won’t be able to use it, the solution to this is to update these references in all the projects to use whichever version you have installed. This can be done by right clicking on “References” under each project and choosing “Add reference…” and then adding in the reference as shown below.
Depending on what you called your Raspberry Pi device in the setup process you may need to go into the MainPage.xaml file in the build2015-weather-station project and update the code on line 27 accordingly. Also, if you only want to run this locally (at least initially) and not send data to Azure Event Hub then you’ll need to comment out line 115 in StartupTask.cs in the build2015-weather-station-task project.
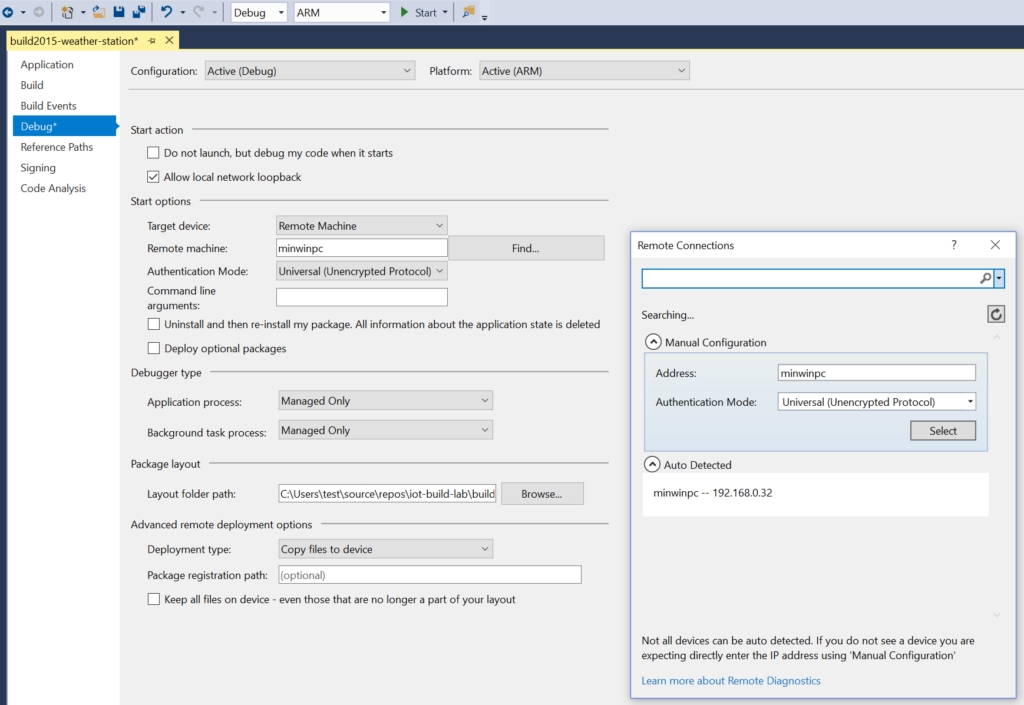
Once this has been done you should be ready to debug the project on your device, in order to do this you first need to change the CPU type in the debug drop down at the top of Visual Studio from “Any CPU” to “ARM”. Secondly you then need to change the “Target device” setting in the “Debug” tab of the properties for build2015-weather-station from “Device” to “Remote Machine” and then select your machine using the “Find” button.
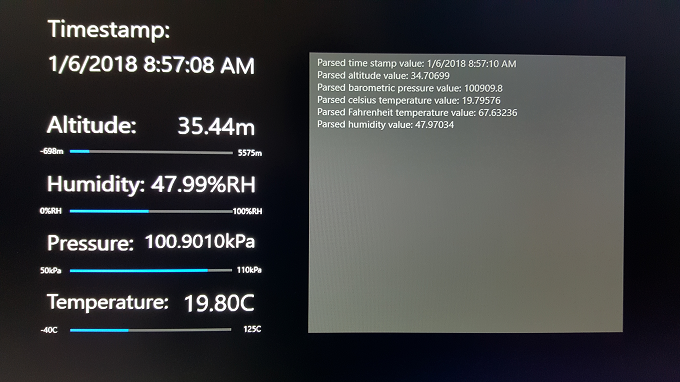
Now if you add a breakpoint to the PopulateWeatherData function in StartupTask.cs and run the app you should hopefully see it hit your breakpoint where you can then step through the code and see the values returned by the weather shield and see these displayed in the UI output by the device.
Device Setup
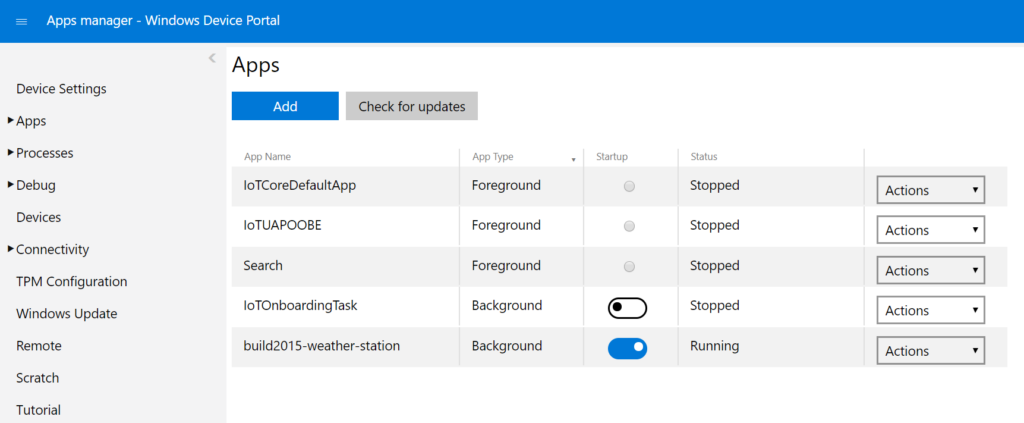
If you’re happy with this app and want to actually deploy it to your device you can do so by changing from “Debug” to “Release” and deploying from the build2015-weather-station project but on starting up your device you’ll see that your app isn’t actually running.
In order to have this app start on startup you need to use PowerShell to set the UI app to start and the device portal to set the background task to start.
To connect to your device you first need to enable Windows Remote Management (WinRM) on you development machine and then to open a PowerShell session on your attached device as detailed here.
You then need to set your app as the startup app using the PowerShell commands as detailed here.
You can get a list of all the apps installed on your device using the below.
iotstartup listThe full list of PowerShell commands I used is below, though your app will end up with a different ID to mine.
net start WinRM

Set-Item WSMan:\localhost\Client\TrustedHosts -Value minwinpc

Enter-PSSession -ComputerName minwinpc -Credential minwinpc\Administrator

iotstartup list

iotstartup add headed build2015-weather-station_4he8bpmx7ms28!App
Once that’s been done and your device restarted your app should launch after the boot screen.
0 Comments