I’ve just changed roles and it turns out I now need to learn some Scala for a project migrating an internal app from a Scala backend to a .NET Core backend.
This project currently builds on a Mac but I figured I’d try to get a grip on how to use Scala in a Windows enviroment where I’m more comfortable. To that end I’ve created the below guide to remind me of the various steps.
Install Java
Although the Java JDK is now up to version 17 Scala is only supported on versions 8 and 11 so you’ll need to install one of these to get it working properly. There’s some weird licensing issues around Java now but you can get a copy of version 11 here.
Install sbt
sbt is a build tool for Scala and can be used to download Scala as well, download and install the latest version from here.
Create a Project
Scala seems to work on templates which scaffold a lot of the initial project code for you and download all the required dependencies. For my project I wanted to learn how APIs work in Scala so followed this guide.
This uses the play framework which handles a lot of the hardwork around using APIs, the template can be created with the following command.
sbt new playframework/play-scala-seed.g8This API can then be run using the below command.
sbt runThis then launches a website accessable on http://localhost:9000/.
Java Versions
If you get the below message in your console then you may have multiple versions of Java installed and Scala is picking up the most recent one rather than the desired version (8 or 11).
Java version is 17. Play supports only 8 and 11.
The Java version can be specified using an enviroment variable called JAVA_HOME, though if this is set it will be system wide rather than being specific to your project. If you want to set the Java version only for the desired Scala project you can do so using the JAVA_HOMES enviroment variable as specified here.
Essentially the Scala launch bat file looks for a JAVE_HOMES enviroment variable and if present it uses that to set the version of Java to be used for the current instance of the project. If you have multiple versions of Java installed as below then you can specify which one to use by setting the JAVA_HOMES enviroment variable to the path where your Java versions are installed.
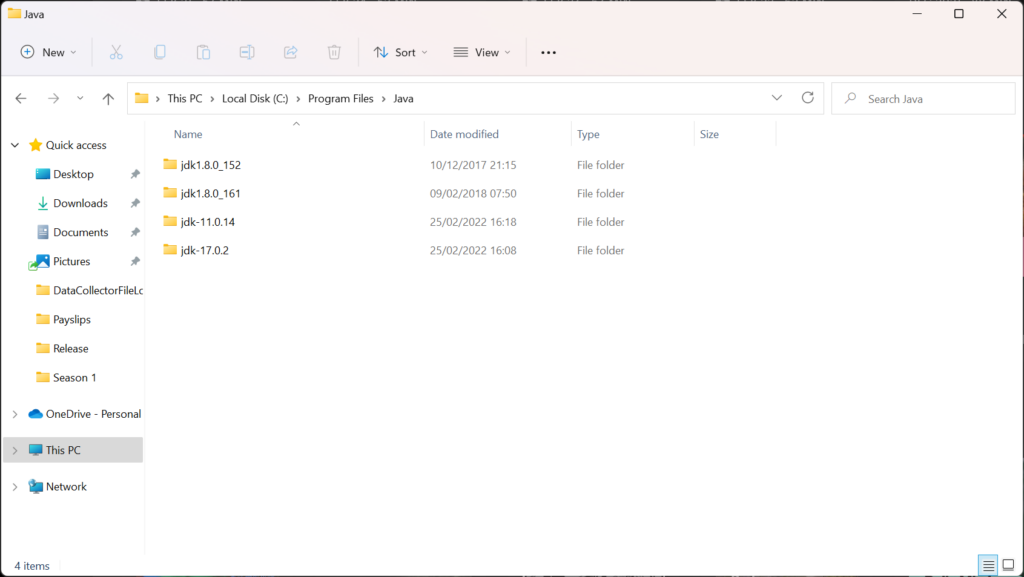
You can then specify the particular version to be used by creating a .java-version file at the root of your project containing the folder name of the Java version to be used. You may need to restart your IDE for these changes to take effect.
0 Comments