I recently migrated this blog over to WordPress from BlogEngine.NET as BlogEngine.NET seems to have been abandoned. In the process of setting up WordPress I discovered that the backend database is MySQL, as I mostly work with Microsoft SQL Server and a SQL database on Azure is cheaper than than a MySQL one I had a look around to see if there were any options tailored to hosting it in Azure. Happily I discovered Project Nami which is a Microsoft supported fork of WordPress designed to work with SQL.
The process of setting up a Project Nami WordPress site seems to be mostly geared around setting it up on a brand new web application and SQL server rather than on existing resources so I thought I’d document the steps I went through here.
- Project Nami has a nice option to deploy directly from their website to your Azure account, however as I already had my resources I used the Full Download option to obtain the zip file containing the site code, unzipped it and then copied the code up to the /site/wwwroot directory of my web application. I copied the files up using WinSCP and connected with the FTP login details found in the publish profile for the web application.
- Whilst in the Azure portal I also enabled the “Always On” option in the Application Settings.
- Once the files have been uploaded to the FTP site go to the website rootpage and begin the setup.
- Create a SQL user in your database for the site use and give add it to the db_owner role, you can remove rights from it later but this helps with the setup.
- Go to your site at http://<app_name>.azurewebsites.net and run through the setup process, enter the pre-existing database name as well as the login details for the database specific user you’ve just created.
Updating the site.
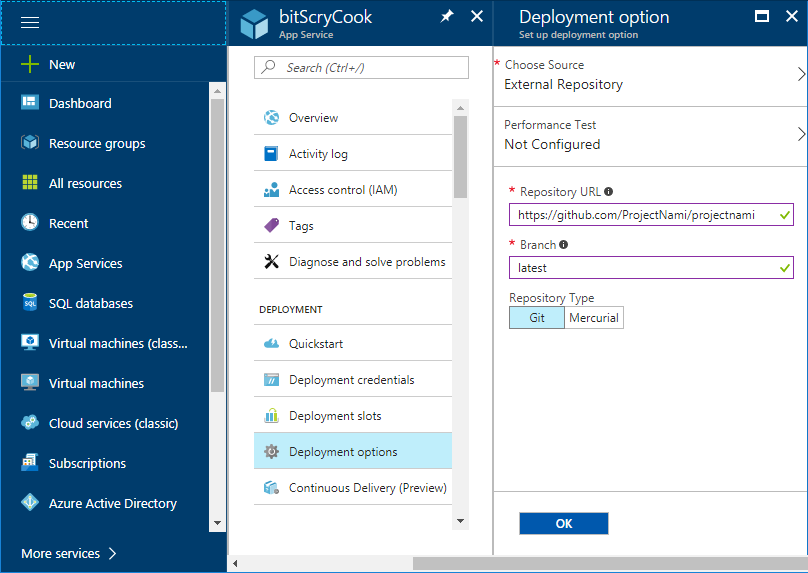
When WordPress is updated Project Nami is usually updated shortly afterwards. In order to deploy this update to your existing site you need to go to your Web App > Deployment Options and configure a new source with the URL https://github.com/ProjectNami/projectnami and using the latest branch. Once this deployment source has been saved it will appear in the Deployment Options blade and sync with the repository.
0 Comments